Overview
For this assignment you will be learning how to create smooth shifts from dark to light in pencil (graphite)
A large part of shading things so that they look 3 dimensional is using tones to define your edges rather than outlines. This assignment will require you to only show edges through shifts in tone by fragmenting your image. We won't worry about texture and detail for this assignment. Just blending and creating a range of values.
Make sure you are familiar with the following definitions before moving on to your instructions.
Vocabulary
Value-How light or dark something is. Values are often shown as a scale or gradient, from dark to light.
Tone-Tone, tonal value, or value are words used to describe lightness or darkness of a hue.
Contrast- Contrast occurs when you place different elements next to each other. An image is low contrast if your tones or values are all similar or you have very few. High contrast has a wide tonal range from very light tones, to very dark tones.

|
Instructions- Sketch
|


- Once you have looked through these images, decide on an object that you would like to draw. It can be any object or animal. Characters and cartoons are fair game for this project as well.
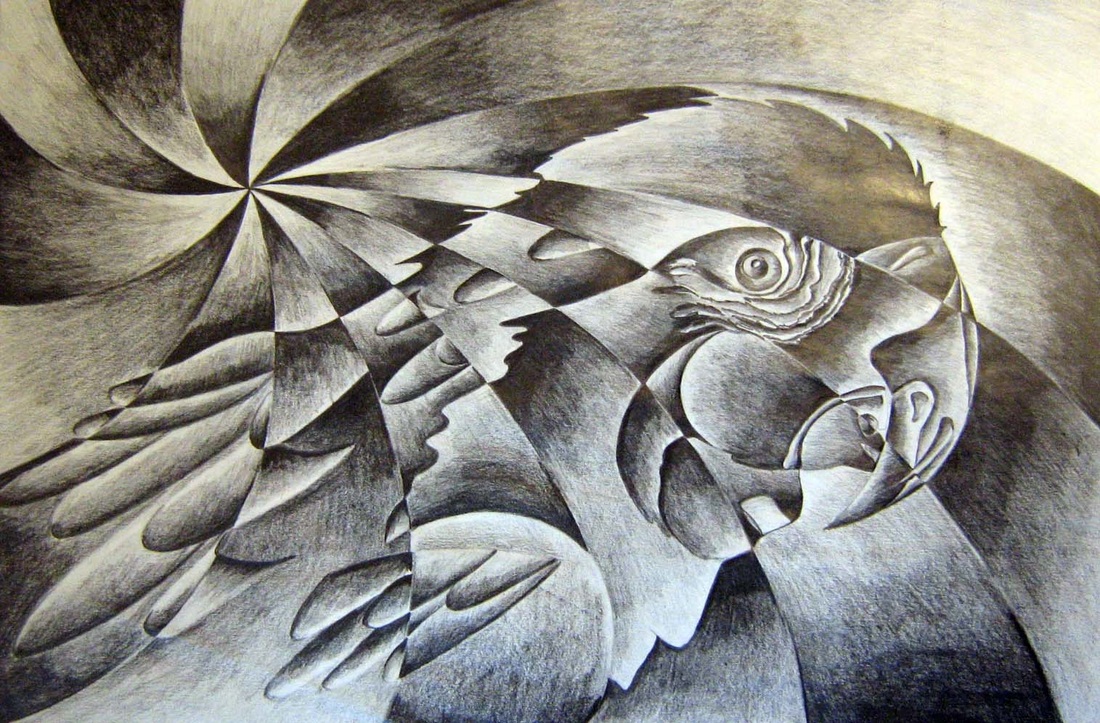
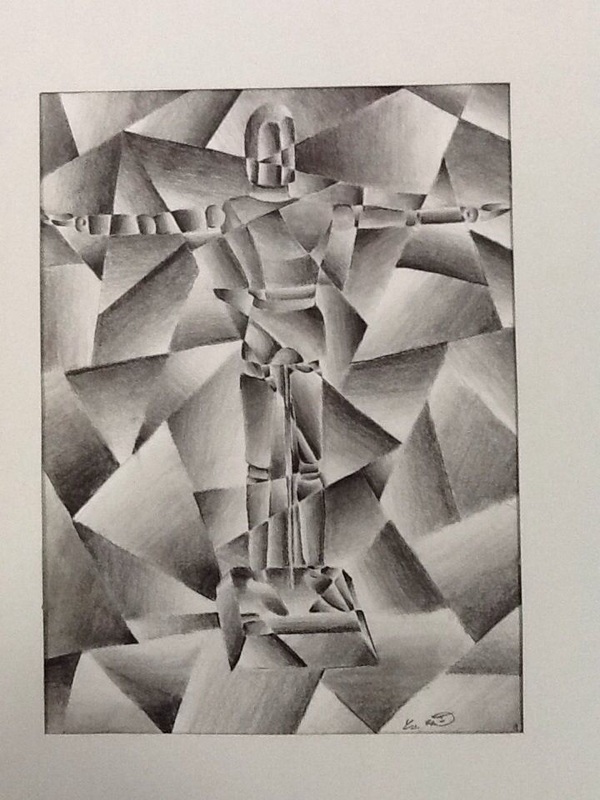
- Sketch out the item you wish to draw for practice and choose a way to fragment your image. You can use rays (lighthouse with boat), rows (last lighthouse) , swirls (parrot ), or a random shapes (drawing mannequin). This way I can see what your final composition will look like.
|

|
Instructions- Project
- You are now going to draw your object lightly in pencil on your drawing paper. If you do not draw lightly, you will dig little trenches in your paper. You may be able to erase them and think that the shading will cover up your mistakes but those little trenches are hard to shade and end up being little white lines breaking up your tones. The lighter you draw (less pressure) the better your final product will be.
- Once your object is drawn, lightly divide your paper.
- Start in one location (don't jump around) and start filling in each shape you created with complete value scales. You should be able to see 4 distinct values in each shape. Even though you can see those distinct separate values, you should not see lines between them. Your tones should smoothly transition into each other. To achieve this you will need to control your pressure and gradually build up your darks.
- When moving from shape to shape, be sure to place your values so that you can tell one shape from the other. That means that the light end of one shape should touch the dark end of the very next shape. go back to the gallery of examples if this doesn't make sense.
- Remember, you B pencils are softer and therefor darker. Your H pencil is harder and meant for lighter Values.
- You want to achieve smooth fills, not scratchy or scribbly. If your shading doesn't look smooth, layer more, control your pressure and change the directions of your marks to fill in the white spots. Resist the urge to smudge with your finger or a blending stump! It seems like it will be faster but it just results in your paper getting messy. The oils in your fingers create a blotchy texture and the blending stump can compress the paper to the point that it doesn't want to grab the graphite. There is a place for blending stumps but that is for another day. The main goal here is for you to practice controlling your pressure and range using your different drawing pencils and smudging can keep that from happening.
- Submit your project for feedback once you have started shading for an in progress check
- When your image is complete, fill out your rubric and turn it in with your project for a grade.
| shattered_value_rubric.docx |
