
|
OverviewThis exercise is in preparation for a pen drawing we will be making. The goals for this lesson are:
Carefully view all the videos and images posted and then read the instructions on creating your own worksheet at the bottom of this page.
|
|
|
|
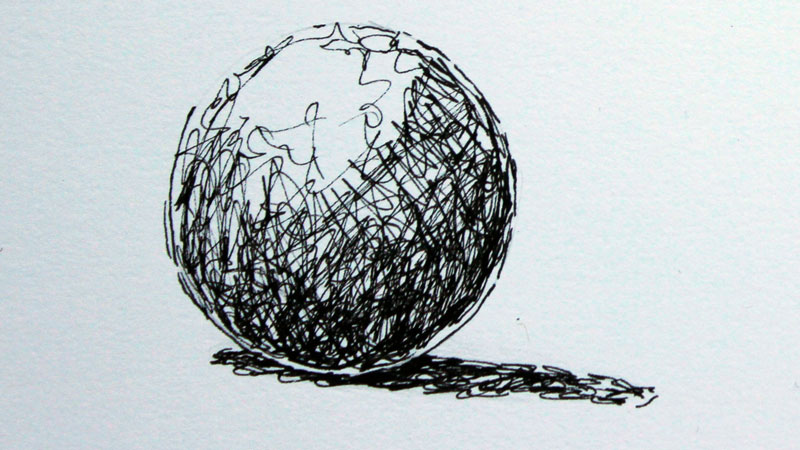
View the gallery below after you watch the video tutorials for more detailed views of your spheres and for more examples of the types of marks you can use to create a variety of textures in pen.


Worksheet Instructions
- I am including photos of a blank worksheet, the apple you should be matching, as well as examples of texture boxes. Please read the instructions carefully. You will be graded on how well you match values and textures as well as whether or not you included all the required components so do not skip steps.
- Your worksheet will have 2 sections.
Section #2 Boxes showing Texture
- For section one, draw 4 apples lightly in pencil (you do not want your outlines to show up in the final drawing) make sure you are drawing the apple that is included below.
- Use the photo of the apple provided and your pen (ballpoint or sharpie) to recreate all of the values in the photo. Be sure to place those values accurately on your apple. Apple #1 should be completed using stippling, #2 using hatching, #3 using cross hatching and #4 using scumbling.
- Lightly draw 3 boxes in pencil (you do not want your outlines to show up in the final drawing)
- Using your pen and the examples below, make box #1 furry, #2 bumpy and #3 wooden.
- Once you have finished adding texture and value with pen to the apples and boxes on your worksheet, you can erase your leftover pencil.

|


|
